The Fuentes Zapata blog
Field notes on HubSpot, AI, lead scoring, loop marketing, and what it really takes to ship growth in the agentic era.
 June 12, 2026Read →
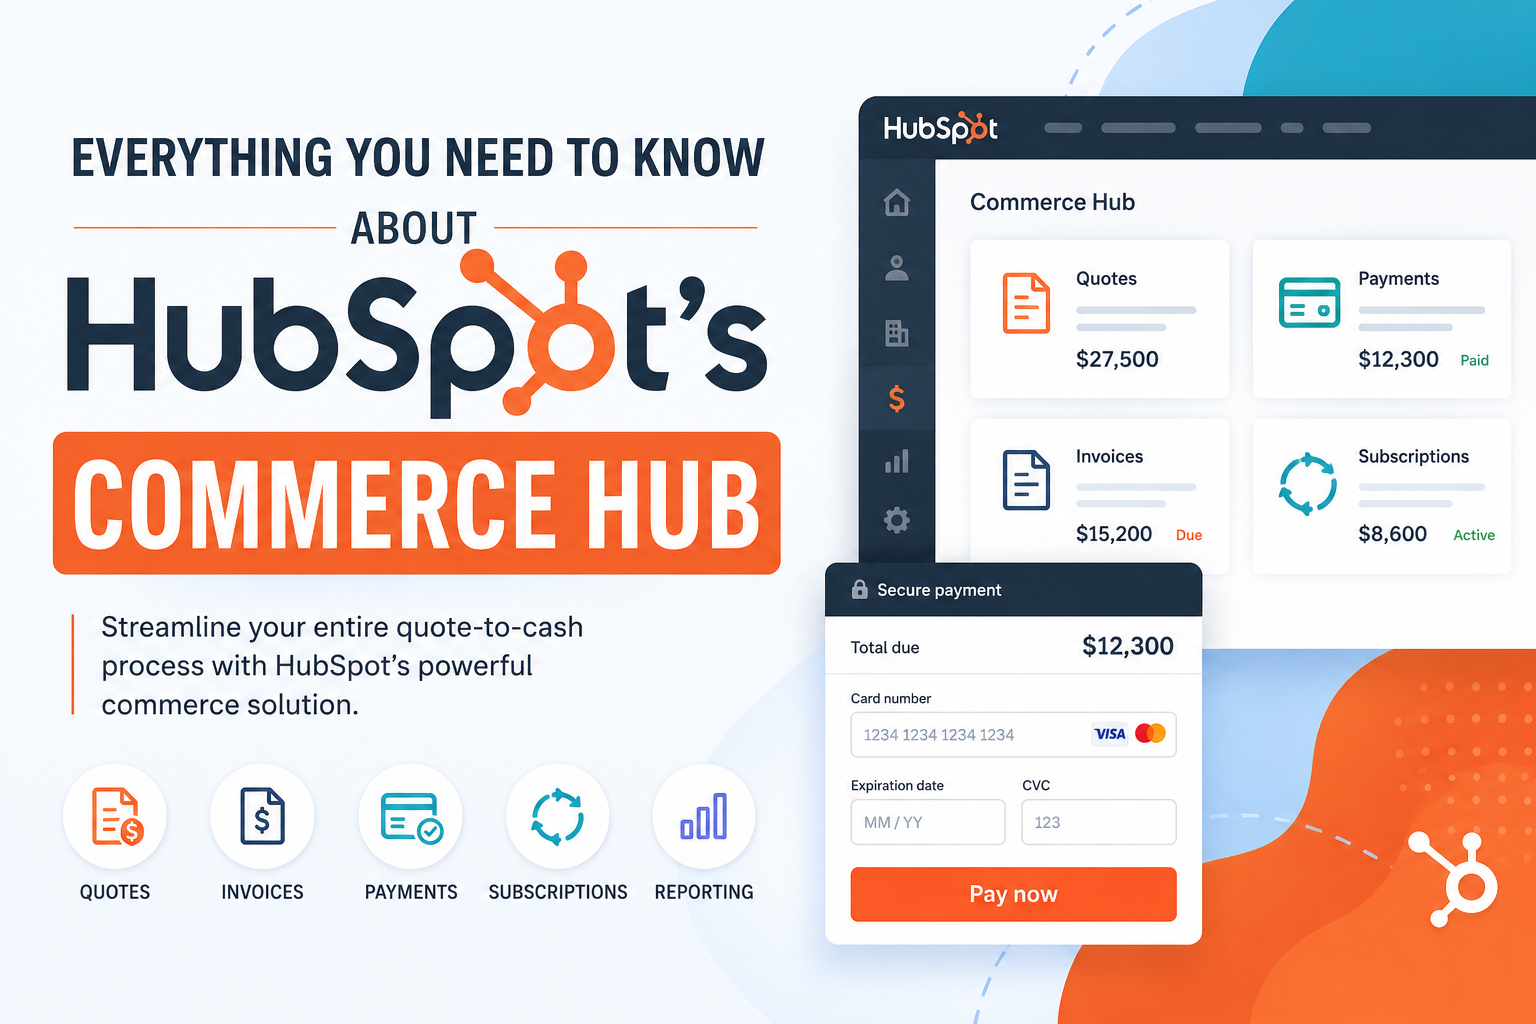
Everything You Need to Know About HubSpot’s Commerce Hub
Learn everything about HubSpot Commerce Hub, including quotes, invoices, payments, subscriptions, automation, and CRM tools.
By Jorge Alberto Fuentes Zapata
 June 10, 2026Read →
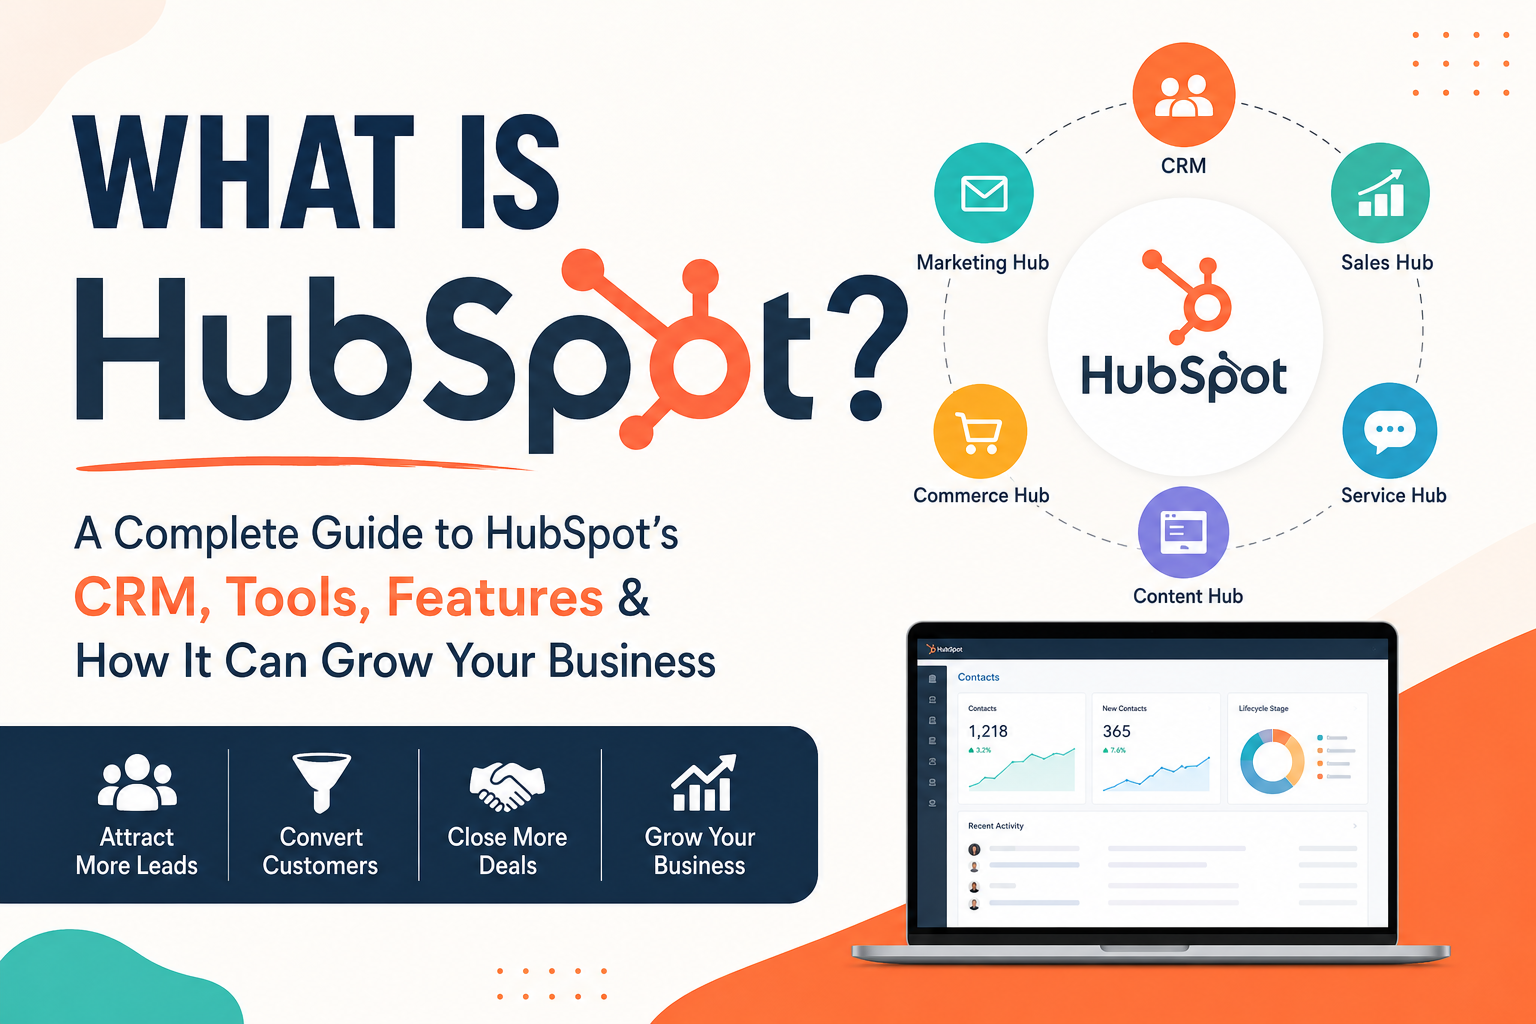
What is HubSpot?
A complete guide to HubSpot: what it is, what it does, the Hubs, AI tools, who it is best for, and how to choose the right HubSpot product for your business.
By Jorge Alberto Fuentes Zapata
- April 21, 2026Read →
The day we stopped thinking at work...
Explore the dangers of outsourcing critical thinking to AI at work and learn how to reclaim responsibility for your tasks and enhance your skills.
By Jorge Alberto Fuentes Zapata
- April 14, 2026Read →
Is The Term AI-First A Badge Of Honor?
AI-first sounds like a badge of honor, but it's really a commitment to optimization at the expense of people. Here's why I choose human-first.
By Jorge Alberto Fuentes Zapata
- April 13, 2026Read →
Dealing With Difficult Clients: A Necessary Evil?
Difficult clients aren't a badge of honor. They're feedback, a filter, and sometimes a sign it's time to walk. Here's what I learned the hard way.
By Jorge Alberto Fuentes Zapata
- December 4, 2025Read →
How SaaS Companies Can Build a Scalable HubSpot Lead Scoring Framework
Learn how SaaS companies can build a scalable and effective lead scoring model using HubSpot to improve sales prioritization and enhance lead conversion..
By Jorge Alberto Fuentes Zapata
- November 17, 2025Read →
My Take On The AI/Agentic Revolution
AI empowers anyone to become a builder without technical skills, leveling the playing field and magnifying human potential. Learn how to harness AI today.
By Jorge Alberto Fuentes Zapata
- November 6, 2025Read →
It's Time We Talked About Your Hourly Rate...Stop Fractioning It!
Stop selling your time by the hour. Learn why fractioning your rate devalues your expertise, and how to productize your value as a marketer or consultant.
By Jorge Alberto Fuentes Zapata
- October 29, 2025Read →
If You’re a Remote Marketer Without These 4 Tools, You’re Losing Money
Boost your remote marketing game with these 4 essential tools to save time and increase profits. Learn how to build a sustainable business with these ....
By Jorge Alberto Fuentes Zapata
- October 9, 2025Read →
Your Customer Has an AI. And It Doesn’t Trust You.
Discover how “digital doubles” — AI-powered customer proxies — are redefining marketing. Learn why the future of brand trust lies in winning over the algo.
By Jorge Alberto Fuentes Zapata
- September 23, 2025Read →
Thoughts on AEO, from the marketing specialist's trenches...
AEO, GEO, SEO... we're all just winging it. A grounded take on AI search optimization from someone in the MarTech trenches.
By Jorge Alberto Fuentes Zapata
- September 10, 2025Read →
Loop Marketing: Why Inbound Marketing is Broken
Discover why traditional inbound marketing is outdated and how HubSpot's Loop Marketing framework can future-proof your strategy in today's ...
By Jorge Alberto Fuentes Zapata
- September 4, 2025Read →
Growth in the AI Era: How HubSpot’s Loop Is Remaking Marketing Success
Discover how HubSpot's Loop is revolutionizing marketing with AI-driven strategies, fostering hybrid teams, and replacing outdated funnels for adaptive...
By Jorge Alberto Fuentes Zapata
- June 10, 2025Read →
ChatGPT to HubSpot: The Deep Research Connector That’s Changing Business Intelligence
In a world where actionable insights are the new currency, HubSpot and OpenAI have just raised the bar for go-to-market teams everywhere....
By Jorge Alberto Fuentes Zapata